Monday, March 30, 2015

The Garden Fence (DIY)


 The garden fence

Individual lumber to create a picket fence from scratch
vs
Pre-assembled picket fence panels


Wood
vs
Vinyl

This is one of those projects that we priced different ways, to see which one was the cheapest.

Thankfully, creating this project from scratch would not be any cheaper then purchasing some pre-assembled fencing sections.  I say thankfully because Handy Hubby just does not have the time to make it right now and it needs we want it done!

Wood was cheaper then vinyl (even with buying paint or stain).

So here is what we came home with from Menards.
See the lattice on the bottom and some extra lumber?  That is for our grape arbor...coming soon!

When we originally put the garden in  we rototilled the section and put 2x8's around the perimeter.  It measures 30x36.  On our 'to do list' for the last two years has been the fencing.

We started with the corner's.
Handy Hubby attached the panels to the 2x8's that are surrounding the garden.

He cut the end of one panel that is sticking out on the bottom and not the other panel.  This makes for a snug fit.  He screwed the corner pieces together.

We created a straight line by lining up string between the two corner sections.

Then filled in between the corner sections with panels, screwing them together at an angle.

Doing a rough fit, he marked the panels on the bottom and cut down as needed, trying to keep a fairly straight line on top, while working with the uneven ground on the bottom.

He had to pry off slats as needed...

Marked and cut straight lines if a shorter width was needed to fill in a space.

He cut support pieces out of 2x4's...

We get a lot of wind here, so he added extra support to the fence.  On the inside of the fence, he positioned the support pieces where the panels were screwed together.

He measured and cut an opening on the 2x8 that was surrounding the garden and also cut an opening for the gate on the picket panels and added hinges.  He made sure the gate opening is wide enough for the rototiller to get in.  Deciding where to put the gate was based off the layout of our garden rows that we have used the last couple years.

My job was to hold the panels evenly while Handy Hubby screwed them together.
Whew...I don't know what he would have done without me (smile)!

Marina was the supervisor for the day.  She was inspecting the work closely.

The garden fence has a few purposes:

*  It will help to keep some wild animals out of the garden.

*  We want to put chicken wire around the inside of the fence.  The chickens can then forage in there during the off garden season.

*  Although it is functional, we also wanted it to be...pretty...and nostalgic.

My grandparents had a fence around their garden.  It was not a picket fence, but it is still a warm memory that I have from my childhood...simpler times...working in their garden with my aunts and cousins.
And, if you watch 'The Waltons', this garden fence reminds me of theirs.  Again, a simpler time...families planting and working in a garden to provide food for their families. 

The garden shed and chicken coop are near the garden and are both stained.

Our house is white and I am leaning toward painting the fence white for that farmhouse/cottage nostalgia feeling.

What do you think?

Should I... 

stain it
or 
paint it white?

I am hoping to get this completed soon.  Then we can add the chickens wire.  Maybe the chickens can have a little time in there before we till it and start planting our garden.

Friday, March 27, 2015

Farm Photo Friday (3-27-2015)


Welcome to Farm Photo Friday.

A picture is worth a thousand words...


Aahh...to lie in the grass again...


 Yes...more snow


Material for the garden fence and grape arbor...coming soon.

Don't miss a Farm Photo Friday!
Sign up to receive them by email every week.  
Sign up is on the right side bar.  
Thanks for visiting.


Sharing at:

Wednesday, March 25, 2015

DIY Brooder


It's that time of year.

You walk into the farm store and it is the first thing you hear.

You follow the sound, and you are lead to little chirping bundles of joy.

Baby chicks, all fluffy and cute.

You can't resist.

You give into the cuteness and buy some.

Or, maybe you look on line or in a hatchery catalog and you order some baby chicks.

Either way, you now have a flock of chickens to raise.  Now what?

In my latest article that I wrote for Community Chickens, I show you an easy DIY brooder and how to create it out of things you may already have.

I also go over the supplies you will need BEFORE you bring your chicks home.

Please click HERE to read my post at Community Chickens.

Monday, March 23, 2015

A tip for hanging a heavy mirror


This is the first house that I have lived in that has a fireplace and a mantel.
I love having a cozy fire on a cold night.
Decorating the mantel has been fun!

For some time now, I have thought that the clock that I had hanging was too small for the space.     

We finally got a statement piece - a large mirror.


Its shape is round, which is a nice contrast to the box shape of the fireplace.
It mimics the round table located in the adjacent eating nook.
The color is a dark stain, which might make you wonder if it is an antique (it is not).
The color compliments the vintage chime clock, a recent find at an antique store.
You can read about the clock HERE.


The mirror is quite heavy.  It had to be hung using anchors and screws.
That means drilling into drywall.
That means making a mess!  

Ready for a tip?


Handy Hubby held an open envelope under where he screwed the holes.  It caught most of the drywall dust, making clean up minimal.

 (You could also use a box, but an envelope is what was handy at that time.)

Sometimes, it is the small things that can have a huge impact...


Sharing at:


Friday, March 20, 2015

Farm Photo Friday (3-20-2015)


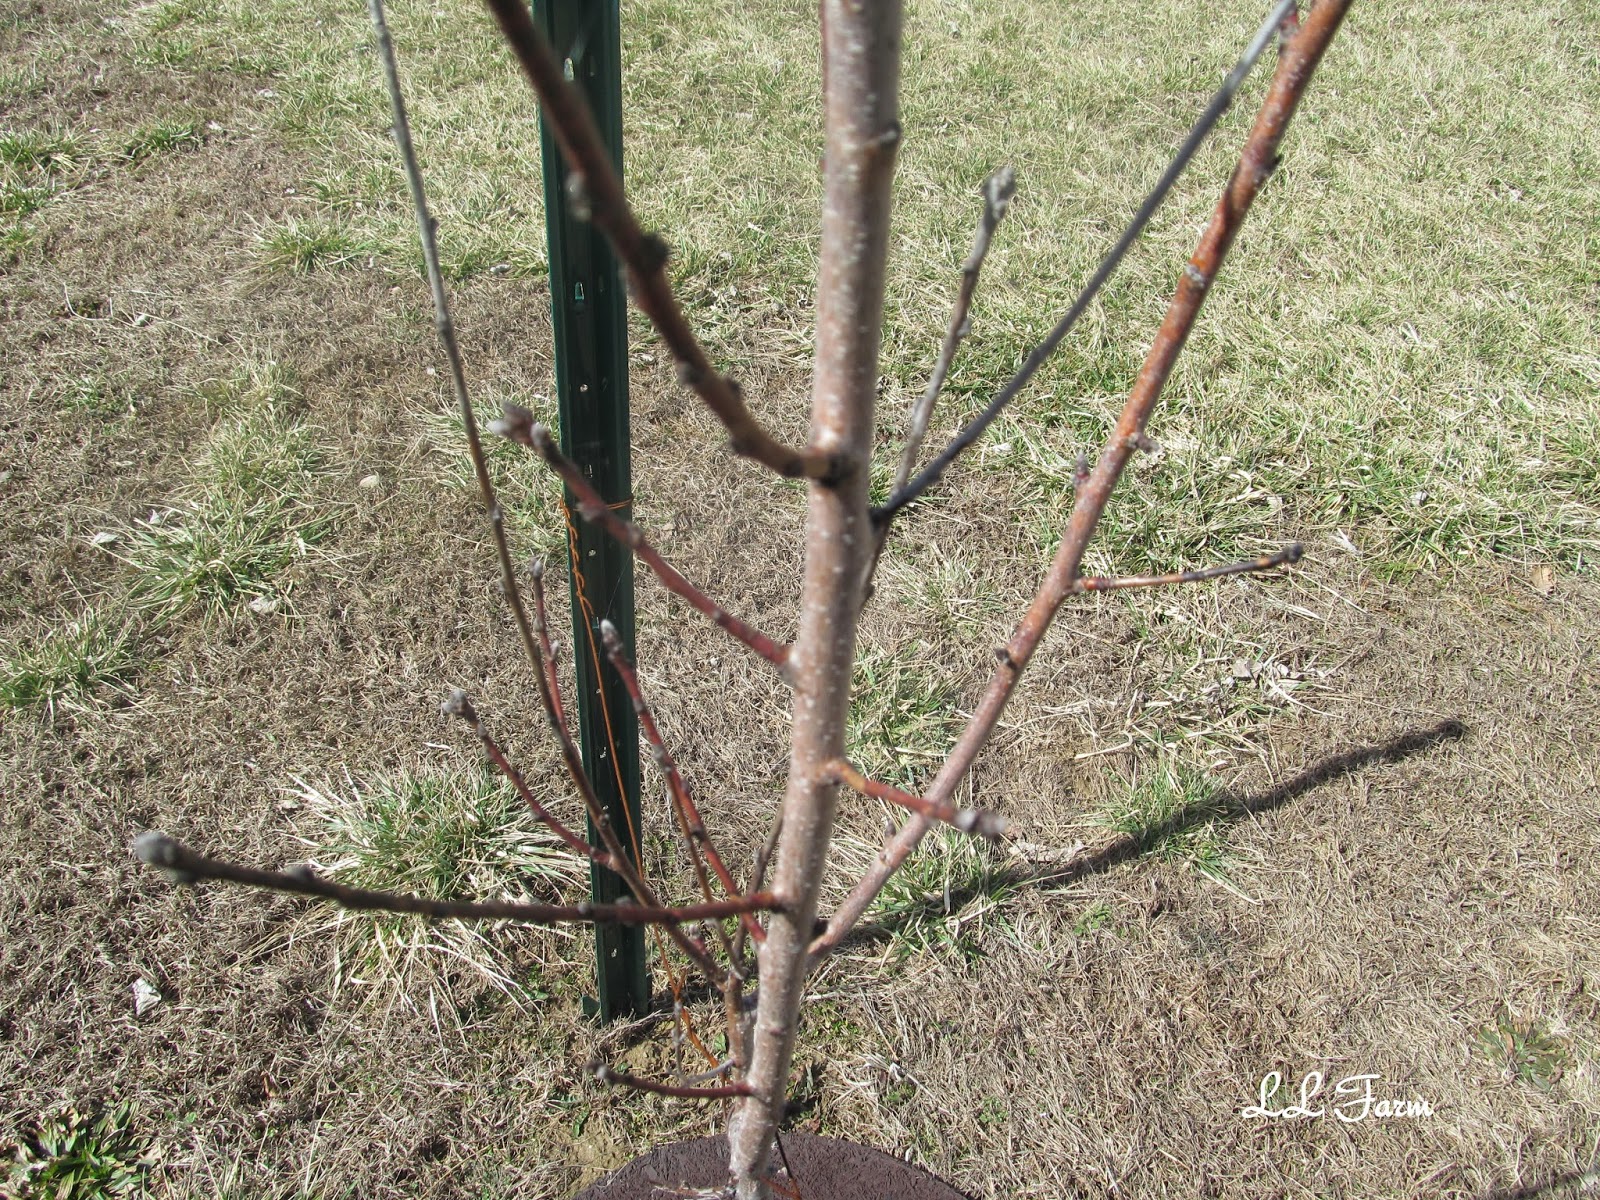
peach tree  planted Fall 2013

Welcome to Farm Photo Friday.

A picture is worth a thousand words...

apple tree planted Fall 2013
(had one tiny apple last year)

I don't think my holly bushes survived the cold weather


Green, where are you?

Baby chickens and turkeys will be here in 2 weeks!

On the Spring to do list:
Plant black raspberry bushes - my favorite!
Build a grape arbor.
Plant grape bushes.
Build a deck on back of house.


Don't miss a Farm Photo Friday!
Sign up to receive them by email every week.  
Sign up is on the right side bar.  

Wednesday, March 18, 2015

Green Beans and Garlic Sauteed in Butter then Sprinkled with Parmesan Cheese


Green Bean casserole.
Green Beans cooked in water.
Green Beans in soups and casseroles.
yawn yawn - I want something different.

Green Beans and garlic sauteed in butter and sprinkled with parmesan cheese!
Can I get an OH YEAH!
OH YEAH!  Handy Hubby and both girls even liked them!!!!!!!!!!!!

What an amazing taste!
The taste of  these green beans are at a whole new level!
This is my new favorite way to fix green beans.

I am thankful that we still have frozen green beans from last year's garden.
The other night, I wanted to try something different, yet simple to go with supper.


Melt a couple tablespoons of butter in a large skillet
Add green beans (I freeze mine in quart size bags)
Add 2 cloves of finely chopped garlic
Salt and Pepper 
Cook over medium-high heat until the beans start to brown (approximately 5 - 10 minutes)
Stir frequently so they don't burn
After you plate the green beans, add finely shredded parmesan cheese


Did you know...

There are many health benefits to green beans:

*  Low in calories

*  No saturated fat

*  Rich in fiber

*  They are a good source of vitamins B1, B6, C and K

Monday, March 16, 2015

Edible Easter Center Piece


I usually do an Easter center piece for the table that consists of a cute basket or dish, fake Easter grass and colored eggs that the girls and I create.

This year I wanted to do something different.

A fun and easy way to display (and eat) Easter candy.


An edible Easter center piece, filled with some yummy Easter candy.


**************************************************
Supplies needed:

Some type of jar with a lid (to help protect the opened candy) 
I used one that I already had

DIRT - Oreos 
I separated the cookies, and only used the halves with not so much white filling

GRASS - green sprinkles

CHICKENS - peeps

EGGS - jelly beans and other assorted candies that look like eggs
**************************************************


**************************************************
Create it:
Wash and dry the container.

Place the oreos in a baggie and smash with a rolling pin.

Place the 'dirt' on the bottom.

Add some 'grass'.

Delicately place your 'baby chicks' in place.

Tuck some other 'eggs' around the display.

What makes this edible display so good is that you can eat what you want, replace it and no one will ever know.  ;-)

Or...you can have a casual visit with a friend while nibbling on some candy as you reminisce.
**************************************************


Friday, March 13, 2015

Farm Photo Friday (3-13-2015)

sun rising on the barn and pasture
Welcome to Farm Photo Friday.
A picture is worth a thousand words...


Cashmere and Marina have always been the best of buds.
To read about how their relationship started, click HERE.


A rain drop and fog.

frozen droplets on the fence

These two ladies are singing Taylor Swift's song "Shake It Off".

And this one is shaking off the rain to the beat of them singing "Shake It Off".

Who us?  We weren't playing in the rain or rolling around in the mud...
peaceful moon

1) The garden covered in snow     2) Just a little snow left     3) Snow gone...so ready to plant!


* I am curious...are you now humming or singing "Shake It Off"? *
Have  a great weekend!


Don't miss a Farm Photo Friday!
Sign up to receive them by email every week.  

Wednesday, March 11, 2015

Planning a garden for you and your chickens


With the snow and ice beginning to melt, are you dreaming of your garden?
Looking at seed catalogs.
Sketching your garden plans on paper.
Starting seeds inside.
Wanting to feel the dirt on your hands.
Smelling the earth as it thaws out.
As you plan your garden this year, don't forget to plan for your chickens also.

Harvesting from your own garden is healthy for both you and your flock of chickens.  Many times, it is also less expensive to grow your own fruits and vegetables.


Depending on climate and location, there are many plants to consider that are beneficial to humans and chickens.  Many can be grown in containers, if you don't have the space for a garden in your yard.

For my list of common plants and why they are good for you and your chickens, please click HERE to read my post at Community Chickens.


***  There is still time to register for the NITE GUARD give away!  Register HERE.  ***


Sharing at:
Maple Hill Hop
Homestead Blog Hop
Green Thumb Thursday
From The Farm Hop

Related Posts Plugin for WordPress, Blogger...