Showing posts with label Recipes. Show all posts

Thursday, December 21, 2017

Home Made Eggnog


I am sooooooooo excited to share this with you!


Home Made Eggnog y'all!
Home.Made.Eggnog.


Rich aaaaand thick...  this stuff is good!

My Dad and I are the only ones in our family that like eggnog, so I guess that's why I have only been exposed to the stuff you buy in a carton.  Now, don't get me wrong, the stuff in the carton is good, but I was curious...

...curious to know what homemade eggnog tasted like.  So I looked up some recipes, found ones that were fairly simple to make, tweaked just a tad, and BAM!  Homemade egg not is good   great   fabulous   OUTSTANDING!

Our ladies (also known as chickens to some people) have finally started laying eggs again, so I thank them for their part in this recipe.


Although not necessary, I used fresh nutmeg for this and may I just add...it smells amazing!


Because this recipe makes one quart, of course I put it in a mason jar.  Ahem, this will make a neat little gift. ;-)


Home Made Eggnog
6 egg yolks
1/2 cup sugar
2 cups milk
1 cup heavy cream
1/2 teaspoon nutmeg
1/4 teaspoon vanilla extract

1.  In a medium bowl, whisk the egg yolks and sugar together.
2.  In a saucepan, over medium-high heat, combine the milk, cream, and nutmeg.  Stirring often, bring the mixture to a simmer.  Do not boil.
3.  Mix a big spoonful of the hot milk mixture into the egg mixture.  Repeat a couple more times to  temper the eggs.
4.  Once tempered, pour the egg mixture into the the milk mixture that is left in the saucepan.
5.  Continually whisk for a few minutes, heating through. 
6.  Remove from heat and stir in the vanilla.
7.  Pour the eggnog into a covered container and refrigerate until chilled.  It will thicken as it cools.
8.  Serve with a sprinkling of nutmeg on top, if desired.


* Also shared at CommunityChickens.com *


Monday, November 20, 2017

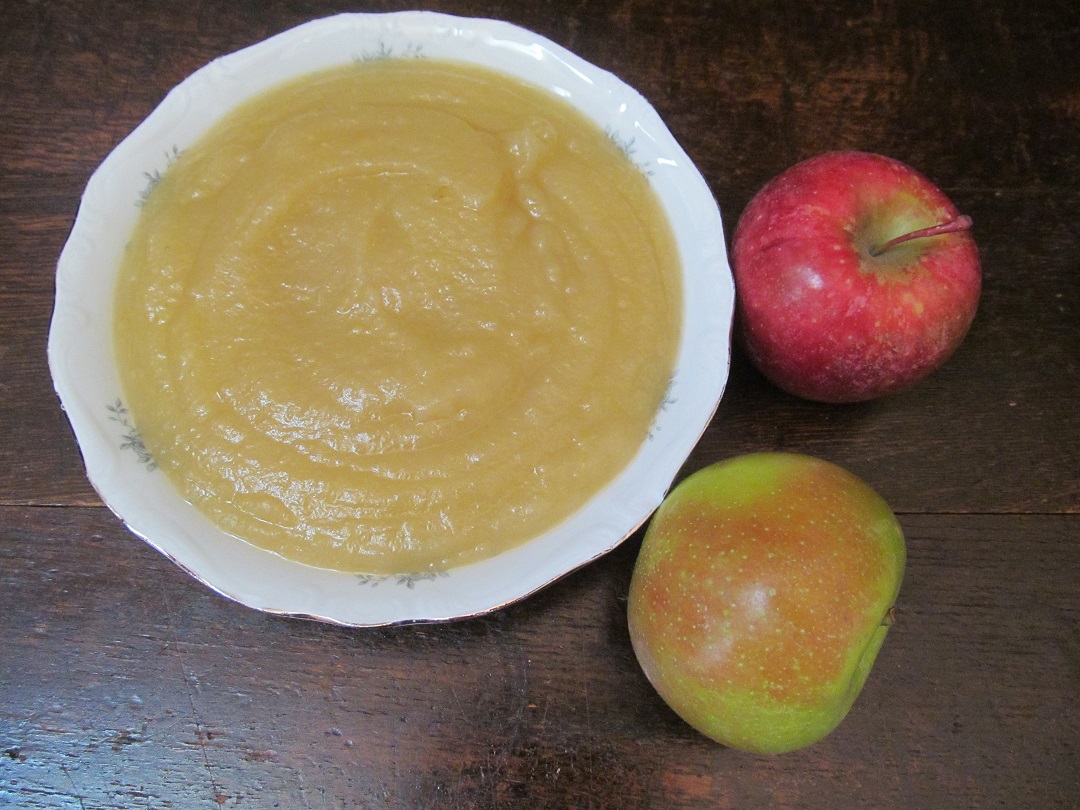
Easy Homemade Applesauce


Making your own applesauce is easy peasy!

Two ingredients are all you truly need.

You don't even need to write this down or print this out...you got this.

Apples and water.  That's it!

Simple, simple, simple...it's my mantra for life...although not always achieved. ;-)


Any type of apple will do, as long as they are firm, not mushy.

If you're feeling like you need some sweetness, add some sugar.

If you crave a little spice in your life, add some cinnamon or another warm spice.

If you are feeling smooth, puree the apples into a smooth sauce.

If you're feeling like you want some depth, mash those babies with a potato masher and enjoy a chunky applesauce.

I have made this from my Mom's 'recipe' many times...you know the one where you 'add some apples and a little water' to a pot.  But for you my friends, I tried to pin down some measurements...

Easy Homemade Applesauce
4 apples, peeled, cored, and sliced.
1/4 to 1/2 cup water (basically enough water to prevent the apples from sticking/burning)
In a sauce pan, combine the apples and water.
Bring the mixture to a boil, then reduce heat to low, and cook until the apples have softened, 10 to 15 minutes.
Mash with a potato masher, puree in a blender, or blend with an immersion blender, to your desired consistency.
Store any left overs in the fridge.

And, if you are feeling like a domestic queen, make plenty to freeze or home can.

Wednesday, November 15, 2017

Pumpkin Log Recipe


Oh hello pumpkin log.  I look forward to greeting you every fall.

The smell of pumpkin wafting in the air evokes all the autumn feel goods, while the sprinkling of powdered sugar ignites my love for snow that  will soon be here.

Recently, when I went to make this,  I could not find the recipe in my over crowded recipe basket.  Thank goodness I had it on the blog!  Just in case you misplaced your recipe ;-) I thought I'd share it again...just in time for the holidays.

Whether this is your first time making a pumpkin log or you are a seasoned pro, I hope this pumpkin log recipe finds you cozy!

Tuesday, August 8, 2017

Pepper Jelly (Home Canning)


I have enjoyed pepper jelly for years, but this is my first year making my own.  And, wow is it good!

I used these adorable little jelly jars, and hope to give some of these cuties as gifts.

For this pepper jelly, I used one red pepper, one yellow pepper, one orange pepper, two green peppers, and one jalapeno pepper.

If you like spice, add more hot peppers.
If you don't like spice, then only use sweet peppers.

Start by getting the water set to boil in your water bath canner.

Always follow safe canning guidelines.

The Ball Blue Book Guide to Preserving is a great reference to have on hand.

Now let's make some beautiful, colorful, delicious pepper jelly.


Pepper Jelly
makes 10 jelly jars

Ingredients
1 red pepper
1 yellow pepper
1 orange pepper
2 green peppers
1 jalapeno pepper
1 cup apple cider vinegar
6 tablespoons fruit pectin
1/2 teaspoon butter (to help reduce foaming)
5 cups sugar

Directions
Cut off the top of the peppers and remove the seeds.
Finely dice up all the peppers (using a knife or food processor).
Place diced peppers into a large pot.
Add vinegar.
Stir in pectin.
Add butter.
Bring mixture to a rolling boil over medium-high heat, stirring constantly.
Stir in sugar.
Return to a rolling boil and boil for 1 minute while stirring.  

Ladle into prepared canning jars, leaving 1/4 inch head space.
Wipe jar rims.
Cover with lid and band.
Put on rack inside canner
Continue filling other jars.
Lower rack of prepared jars into the water bath canner.
Put lid on the canner.
Process for 10 minutes.


A favorite way to enjoy this colorful pepper jelly is to pour some over a block of cream cheese and serve with crackers.

Friday, June 9, 2017

Breakfast Casserole With Cottage Cheese


Who says 'breakfast' casseroles are for breakfast only?! 

I enjoy a good breakfast casserole for dinner.
(I'm curious...Do you say dinner or supper for the evening meal?)

The addition of cottage cheese had me wondering about this one, but oh my, it was good.

I've actually made this two different ways...

one with bacon
and
one with ham

both were yum-a-licious!

Click over to Community Chickens to get the recipe.

Tuesday, May 2, 2017

The New Pioneer Magazine Summer 2017


The New Pioneer Magazine Summer 2017 issue is now available!

This magazine is amazing, always full of great ideas.

I am honored to have 2 articles in this issue.


The first article is about home canning.  Something I've talked about here on the blog before.  My Mom used to can heavy volumes in her summer kitchen.  Generations before her canned as a life necessity.  Although I don't can like they did, I do dabble in home canning.  I involve my girls in the kitchen as much as possible, and I am thrilled to say that they are part of this article.


The second article is another DIY project that Handy Hubby made for our small farm.  It is a slow hay feeder.  Before this we just threw hay on the ground, which was a waste of money!  The cows trampled on and used the bathroom on it, wasting a lot of it.  If you have livestock that you feed hay, this DIY is for you!  

The magazine is available at most places where magazines are sold or you can order on line.

Happy Reading!

Friday, March 17, 2017

Chocolate Chip, Pecan, Coconut Cookies


Do you ever talk to yourself?

I do.  After all, I have the best answer sometimes! ;-)

Case in point...

It was a cold, windy day.

Cookies sounded good.

"What should I make?" I asked myself.

Monday, February 27, 2017

White Chocolate Covered Snack Mix


Sweet and Salty.

Enough said, right!?!

Who doesn't need this combination every once in a while? ;-)

This snack mix is a hit with adults and kids...when you need to take something for a sports game, a school class party, a pot luck, or just because.  After all, who needs a reason to eat chocolate!?!

Thursday, February 9, 2017

Individual Meatloaves With Cheesy Sauce


Some foods seem to be in constant rotation...

Meatloaf seems to be a menu staple for many home cooks, me included.

Monday, January 30, 2017

Garlic Crostini


Do you like garlic bread?
Then you are going to like this 'recipe' for garlic crostini.


For the bread, I like to use a french baguette, sliced about 1/2 inch thick.


I like to bake the crostini on a stone.  It helps to create even baking on these small pieces of bread.
But, a regular sheet pan or cookie pan will also do a fine job.


Start with some extra virgin olive oil.
Mix together salt, pepper, garlic powder, and dried parsley with the oil.


Brush both sides of the bread.

Bake at 400 degrees F for 5 minutes.

Turn the bread over.

Bake for an additional 2 to 5 minutes, or until golden brown and crispy.

Mmm Mmm
Crispy bites of pure goodness!

Thursday, January 26, 2017

Cheesy Garlic Potatoes


Are you a meat and taters kind of person?

...or maybe just a tater kind of person?


Many times, I enjoy the side dishes more than the main dish.

Taters combined with garlic and cheese?

Yes, please!

Wednesday, January 18, 2017

Cinnamon Sugared Almonds


A sweet nut.

No, I'm not talking about you!

You sweet thing...you're just a nut.
;-)

I'm talking about cinnamon sugared almonds.

I've had these (expensive!) almonds at fairs and such.

I figured there had to be an easy way to make them at home...

Wednesday, January 11, 2017

Homemade Beef Broth


Have you made your own beef broth yet?

It is so easy, you can make it while you sleep.
Seriously!

It's up to you if you want to dream about it, but rest assured...

...in the morning your nose will thank you as the delicious smell will be making magic in your kitchen.

...and later, when you cook with the homemade goodness, your taste buds will definitely thank you.

Tuesday, January 3, 2017

Spinach Salad with Lime Dressing


Don't you just love this time of year, and all the delicious food that accompanies the season?

I'm not just talking about the cookies and pies that seem to appear at every corner...

It's also the time of year that my cooking turns to comfort food...


But, sometimes, a lighter meal is wanted.
...and definitely needed (so says my scales)!

Tuesday, December 13, 2016

Mint Chocolate Cookies


If you are lucky enough to live near an Olive Garden restaurant you know all about the mints...

...the ones you get at the end of your meal.

The mint green surrounded by chocolate.

Mmm Mmm!


Did you know that you can by these Andes mint baking chips?


Oh yes you can!  They make the most wonderful tasting cookies.


Here is the recipe:


Mint Chocolate Cookies
(makes 4 dozen)
1/2 cup butter, softened
3/4 cup brown sugar
1/2 cup white sugar
1 tsp. baking soda
1 tsp. baking powder
1 tsp. vanilla
2 eggs
10 oz. pack of Andes Creme de Menthe Baking Chips
2 2/3 cups flour

Beat butter, sugars, baking soda, baking powder, vanilla, and eggs until mixed.
Stir in Andes baking chips, then flour.
Chill for one hour in the refrigerator.
Using a tablespoon, drop dough two inches apart onto non stick baking pans.
Bake at 350 degrees F for 8-10 minutes.

Thursday, December 1, 2016

Homemade Cranberry Sauce


As a little girl, I remember standing on my tippy toes watching and listening with child like excitement.


The bright red cranberries popping and bursting as they cooked on the stove top.

I loved watching and listening to them cook down into a delicious cranberry sauce that my Mom made every year during the holiday season.

She never added too much sugar, leaving them a bit on the tart side...just like we liked them.

Monday, November 21, 2016

Pumpkin Cookies


Pumpkin and spice and everything nice...
that's what these cookies are!

Pumpkin Cookies that taste like a pumpkin pie...yes, please!

Monday, October 31, 2016

Egg In A Hole

egg-in-a-hole
Many times it is the simplest things that taste the best.
Take eggs and toast for example.
Easy enough to make for one or for a crowd.
Ingredients you most likely have on hand.
Eggs and toast - the perfect breakfast, or lunch, or supper.

Wednesday, October 26, 2016

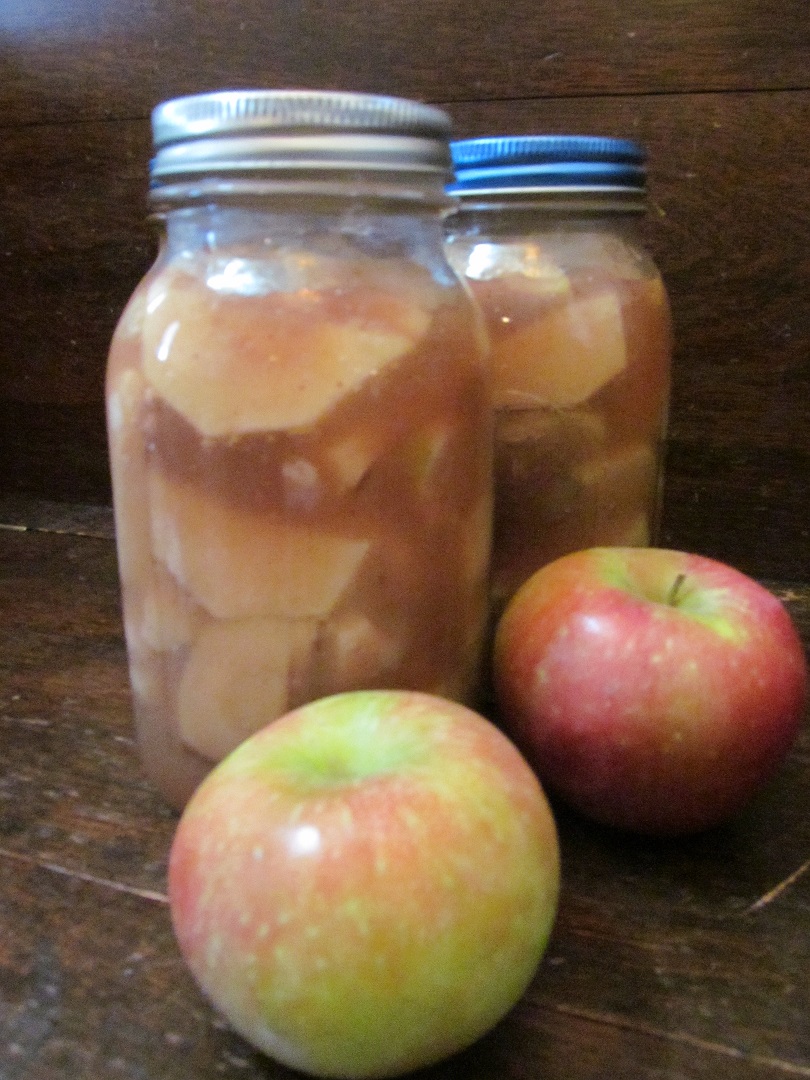
Home Canned Apple Pie Filling


Let's think ahead for a moment...

It's winter time.

The snow is gently falling outside your window.

A beef roast nestled on a bed of vegetables is simmering in the crock pot.

Your family is huddled around a crackling fire sharing stories.

The talk turns to apples...
apple pie to be exact.

Mmmm...the fresh apple pies you had in the fall...

The color...the texture...the smell...the taste...

The craving takes over...


 An apple pie is a must for the day!

But, wait a minute...you don't have any apples!
A trip to the grocery store is out of  question, since the snow has picked up speed and is quickly covering the ground.

Without even putting on your super hero costume...
You smoothly walk into the pantry...

A second later...


You appear with a can of home made apple pie filling...
 that you canned yourself!

Your family starts cheering and applauding!

The talk quickly turns to how great you are great the pie is going to taste.

You pop open that jar, spread the deliciousness into a pie shell, and bake.

As the spice infused apple pie smell wafts from the oven, you get to spend quality time with your family, instead of laboring away in the kitchen.

Do I have you convinced?
Ready to can some apple pie filling for one of those days lurking in your future?
Or any day really.

If you're new to canning, or need a re-fresher, click HERE to read my post titled


Home Canned Apple Pie Filling
(This recipe makes 3 quarts.)

3 pounds firm apples
2 1/4 cups sugar
1 teaspoon cinnamon
couple dashes of nutmeg 
couple dashes of ginger
1/2 cup cornstarch
5 cups water

Combine sugar, cinnamon, nutmeg, ginger, and cornstarch in a large pot.
Add water, and cook on medium-high heat.
Stir frequently until it boils.
Boil for one minute, or until thickened.

Peel, core, and slice enough apples to fill each quart jar, leaving adequate head space.
Fill jar with thickened liquid, again leaving some head space.
Remove air bubbles.
Put lids and bands on.
Process jars in hot water bath for 20 minutes.

Enjoy as a pie, dumplings, ice cream topper, or anything your heart desires!


You may also like:

Apple Crisp With Almonds


Sunday, October 23, 2016

Home Made Applesauce


Do you like applesauce?

Have you looked at the ingredients on applesauce that you purchase at the grocery store?

If you answered yes to one or both of those questions, then this post is for you.

Home made applesauce is easy to make using only 3 ingredients:

Apples
Water
Sugar

You could actually make it without sugar if you want.

Related Posts Plugin for WordPress, Blogger...