Monday, December 29, 2014

Overnight French Toast Casserole

 
Overnight French Toast Casserole

I love this recipe for a few reasons:

* I love french toast
* You can whip this up quickly
* It is a great way to use up the eggs that our lovely ladies lay for us daily
* You can assemble it the night before and bake it in the morning
* You can assemble it in the morning and bake it for supper

I made this on Christmas Eve before I went to bed.  It smelled so good baking on Christmas morning while we opened gifts.

Ingredients for casserole:
1 loaf French bread, ripped into bite size cubes  (you can substitute any crusty bread that you have)
10 eggs
3 cups milk
4 teaspoons sugar
1 teaspoon vanilla extract


Place bread cubes into a buttered 9 x 13 baking dish.
In a large bowl, whisk the eggs, milk, sugar, and vanilla together.


Pour egg mixture over bread cubes.
Smoosh bread down into egg mixture.
Cover with aluminum foil and refrigerate for approximately 8 hours.

Remove from fridge 15 minutes before baking.
While it is resting, prepare the topping.

Ingredients for topping:
2 tablespoons butter
3 tablespoons sugar
2 tablespoons ground cinnamon
1 teaspoon nutmeg

Dot the casserole with 2 tablespoons butter.
Combine sugar, cinnamon, and nutmeg.  Sprinkle over the top of the casserole.

Cover with aluminum foil and bake at 350' for 45 - 50 minutes or until a knife inserted near center comes out clean.

I like to eat mine with warm syrup.

Now for a bit of trivia:

Why is it called french toast?

According to legend, in 1724, an inn keeper named Joseph French made and named it French toast. But, even long before that time, people made this type of food by using food staples that they usually had:  stale bread, milk and eggs.  

Aren't you glad I shared that fascinating information with you ;-)

Sharing at Metamorphosis Monday     Tweak It Tuesday     Inspire Me Tuesday     The Scoop     Wow Us Wednesdays     Wake Up Wednesday     Home Acre Hop     Thursday Favorite Things     Home and Garden Thursday     Feathered Nest Friday     Foodie Friday     Farmgirl Friday Blog Hop     Simple Saturdays Blog Hop

Tuesday, December 23, 2014

Merry Christmas


Merry Christmas from LL Farm


I want to take this opportunity to say that I am so thankful for the readers, followers, and friends that I have made through my little blog.  I hope your Christmas is filled with peace and joy!
- Lori Leigh                

Thursday, December 18, 2014

Great Grandma's Dishes

Great Grandma's Dishes


For Christmas dinner, we use my Great Grandma's dishes.  She received these dishes as a gift for her 50th wedding anniversary.  The name of the dishes are Fire King.  The are made by Anchor Hocking in Ohio!  

Unfortunately, I do not have a memory of my Great Grandma, but my Dad speaks fondly of her often. He is the one that has gifted me these heirlooms.


I purchased the gold chargers at Dollar Tree.  I think they help to show off the gold trim on Great Grandma's dishes.   


I don't have any gold flatware, so I use my every day mismatch silverware (many are from my Great Grandma's daughter - my Grandma - my Dad's mom).  


That little glass plate you see above the butter knife is...


a butter pat.  These are from my mom.  Back in the good 'ole days, people used butter pats for just that - a pat of butter at each place setting.  Last year we used these, and they were a great conversation piece.


For the center piece, I used one of the serving bowls from Great Grandma's set of dishes (see the gold rim peeking out).  I filled it with greenery and red bulbs.  I scattered a few white tipped pine cones around the center piece.


How 'bout you?  Do you have any butter pats or a story about them?  


Monday, December 15, 2014

From A Jar Of Peaches To A Snow Covered Jar

From a jar of peaches to a snow covered jar.


I will start with a confession...I did pay a little more for this jar of peaches, compared to the canned variety that I would usually buy, but the jar was so pretty...I knew I would do something with it.

This little DIY project is easy to do in just a few minutes, but can give such a wow factor, and it is up-cycling! 


Cast of characters: 
a glass jar (be creative in what you choose)
painters tape
foam brush (I rinse it out after each craft project and reuse, reuse, reuse)
mod podge
epsom salt
paper plate


Remove any labels from the jar.  Use painters tape to mark off where you want to stop the snow.  I can't draw (or make) a straight line...never have, probably never will...  so forgive me if it's a little crooked.  Actually, let's just call it rustic (smile).  

Using a foam paint brush, smear mod podge below the tape line.  With a paper plate under, sprinkle epsom salt over the mod podge.  Let dry.

Next...
no wait...
that's it!

  
Put some more epsom salt inside the jar and put a candle in.


Tie some twine with a Christmas bulb around the top.


Once Christmas is over, put some pine cone and berry sprays in for a wintery look.

This would also be adorable with some wrapped candy put inside the jar.  I would take a picture of that, but....


Lily said it was taking longer to do this post than it actually took to do the project.  She put her paws up as if to say that she had enough, and off she went to sleep.

Sharing at:  Metamorphosis Monday   Tweak It Tuesday   The Scoop   Inspire Me Tuesday    Wow Us Wednesdays  Wake Up Wednesday    Down Home Blog Hop  Thursday Favorite Things  Share Your Cup Thursday

Wednesday, December 10, 2014

Seeing Red (in the eating nook)


The table is all decked out for Christmas!


I picked some branches from a tree in the woods (smells so good, but man does it make my hands itch).  I tucked the branches in my vintage blue mason jar.  


There are tiny pine cones on the branches - they are sooooo adorable.  The smallest things excite me sometimes!  


I tied twine around the jar and strung a small red bulb on for a festive look.  


The table cloth, which I have had for years, has sparkly gold in it.  I purchased the gold charger plate at  Dollar Tree.  On the charger are white tipped pine cones and small red ornaments.  


The candle holders were my Grandmother's.  Cream colored votive candles adorned with frosted berry rings finish the look on the table.


For the light fixture above the table, I put some faux greenery with a little bling hanging.  Snowflakes and icicles.  


Monday, December 8, 2014

Blue and Silver Christmas Mantel

Staying true to my love of decorating with blue, I have decorated the mantel in blue and silver with white lights in the garland.


I have kept my blue lanterns in place and put sparkly silver candles in them.


Two shades of blue ornaments are tucked in the garland.


In the middle is the word Believe with an ornament dotting the eye.  I love the color of this, but also the meaning of the word.

Dictionary.com defines the word believe as:
(verb) 1.  to have confidence in the truth, the existence or the reliability of something.
(verb) 2.  to have confidence or faith in the truth of a story.
I BELIEVE in CHRISTmas - the birth of Jesus!


A silver snowman.


A sparkly silver tree.


The MERRY CHRISTMAS banner is new this year.  It has the words MERRY CHRISTMAS wrote in glitter on alternating ornament shapes made out of sheet music.


Look to the left...see the tree on the plant ledge peeking above.


On the hearth are two snowmen.  One is a snowman bucket filled with pine cones.  On the other side is a tall snowman with a crackle finish.  Once all the Christmas decor is put away, I will most likely leave these snowmen out and add a few more here and there for the Winter season.  I have a collection of snowmen ;-)

Thursday, December 4, 2014

Yard Sale Christmas Treasures

There are so many great Christmas things being posted throughout Blog Land!  So much inspiration!

Today I want to share some Christmas items that I have decorated my home with that are from....yard sales. Yard sales and estate sales are a great place to find some really neat Christmas decor.  It goes to show that you don't have to spend a fortune for nice looking things.  Someone else's trash can be your treasure.

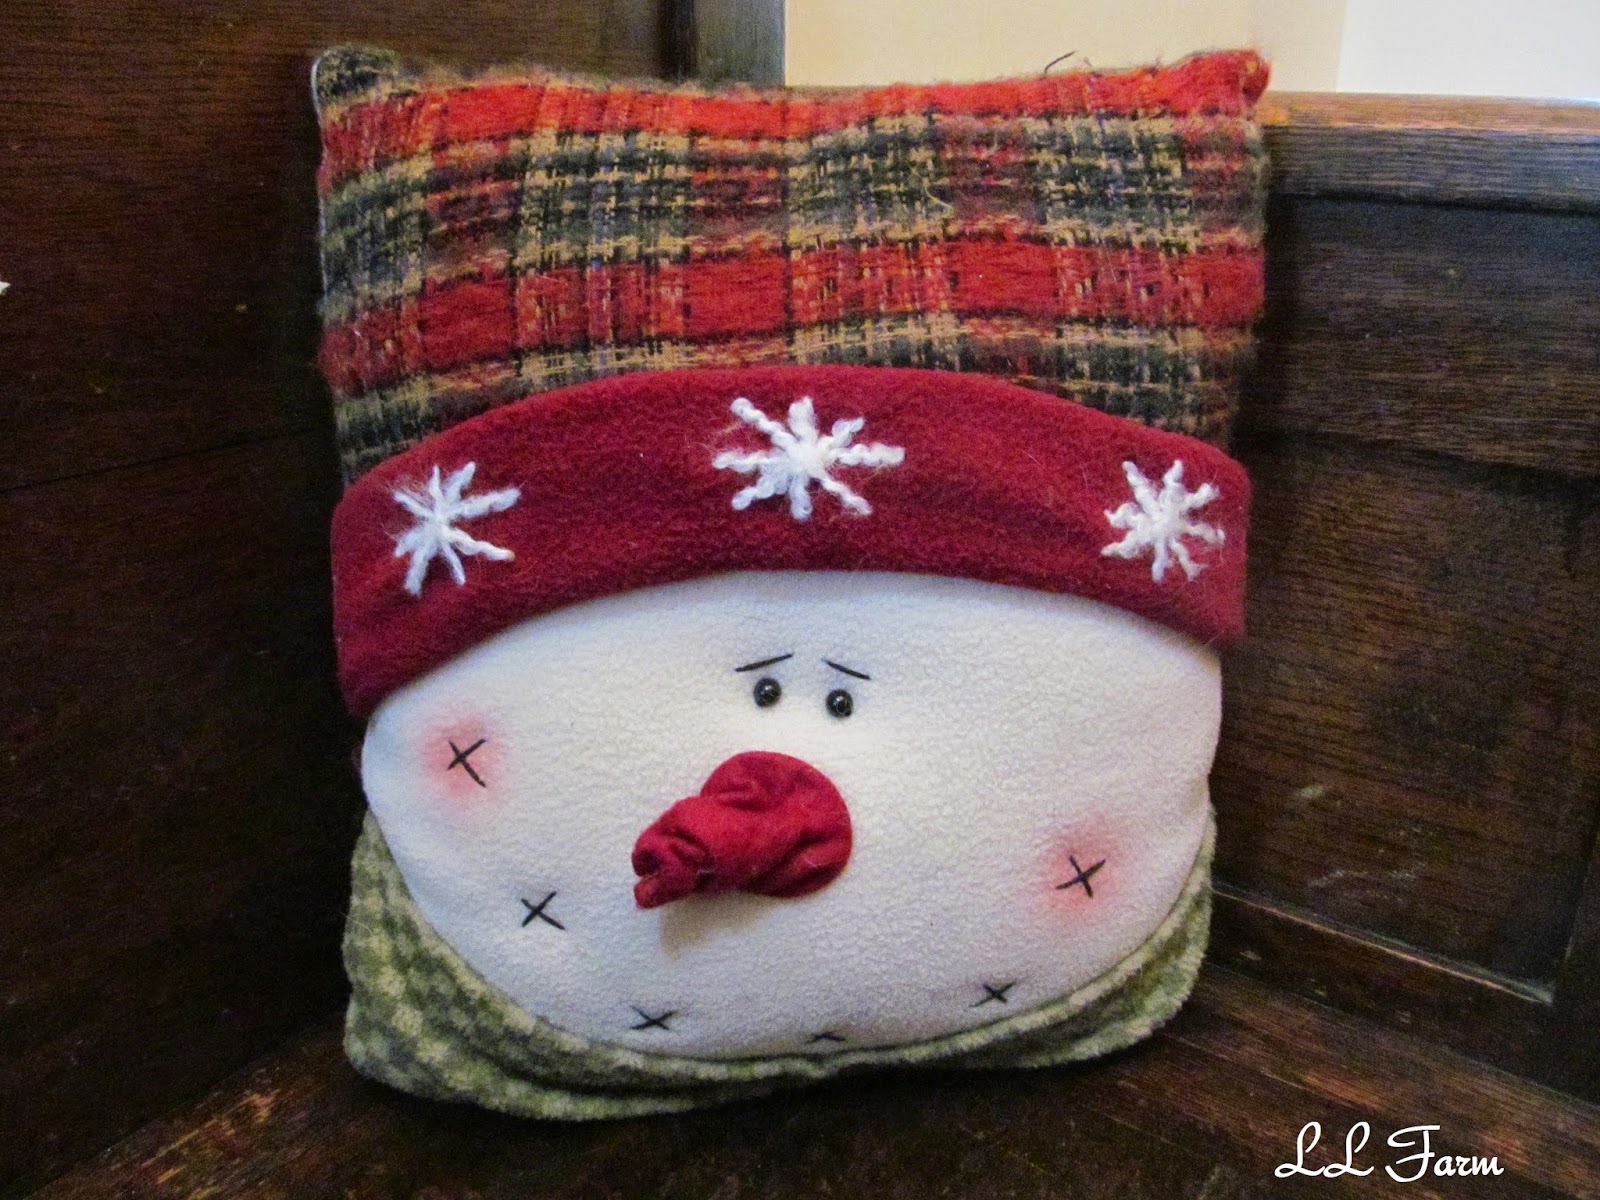
I bought this snowman pillow a few years ago.  It adorns an antique bench (from my husband's great aunt) in the foyer.
I love snowmenpeople and scatter them here and there throughout the winter season.


I put some epsom salt in this yard sale winter scene candle holder, then added a votive candle.
It sits on top of an antique magazine stand that my Grandma gave me when I was just a little girl.

The snow falling, the snow covered trees, the peaceful scene on the candle holder, paired with a treasure from my Grandma...takes me back.  I can almost hear the snow crunching under foot as I walk through the winter wonderland.


I got a great deal on this silver snowman at a yard sale this past summer...it was missing it's nose. Can you tell what I fixed it with?  A piece of tin foil!  I love how it looks on my Christmas mantle with my other silver and blue decorations.


I purchased this sled many years ago at a yard sale.  It has a basket weave and wrought iron.  I fill it with real and faux greenery and bulbs.

Next week I will be sharing my Christmas mantel done in blue and silver.  I will also be sharing my eating nook...I'm seeing red!  Please follow through Blogger or by e-mail, both can be found on the right side bar.

Sharing at Treasure Hunt Thursday  Simple Saturdays Blog Hop  Tweak It Tuesday  The Scoop  Metamorphosis Monday  Wake Up Wednesday  Thoughts From Alice  Thursday Favorite Things  Thrift Store Addiction  Big Christmas Link Party


Wednesday, December 3, 2014

Pumpkin Log

 
Pumpkin log.

The smell of pumpkin and cinnamon in the air.


The look of snow from the powdered sugar.


Making a desert that looks like a log.


Eggs fresh from my chickens.


I usually make a few pumpkin logs in the fall time and freeze one or two.  But not this year.  Thanksgiving is the first one I made this year and it was only because....

I planned on making a pumpkin pie for Thanksgiving dinner.  Earlier in the week, I did a quick look to make sure that I had all the ingredients before I went to the grocery store - check.  I even bought heavy whipping cream to make home made whipped cream.

When I went to make the pumpkin pie, the evaporated milk I had in the pantry was expired!

Maybe it was a blessing in disguise (smile) because I did have every thing on hand to make this delicious pumpkin log.  


Here is the recipe:

Pre-heat the oven to 375 degrees.

For the batter:
3 eggs, beaten
2/3 cup pumpkin
1 cup sugar
3/4 cup flour
2 tsp. cinnamon
1 tsp. baking powder
Beat the eggs, then add pumpkin, sugar, flour, cinnamon and baking powder.  Mix all together.
Using a spray oil, grease a jelly roll pan, lay wax paper, grease wax paper.  Pour batter onto waxed paper and smooth evenly.  
Bake at 375 degrees for 15 minutes.
Let cool for 10 minutes.
Lay out a kitchen dish towel onto counter and sprinkle with powdered sugar. Turn the batter onto the towel.  Sprinkle it with powdered sugar.  Roll the batter and towel up. 
(Alternatively, you can sprinkle powdered sugar onto the cooked batter and roll up, using the wax paper, instead of a towel.)
Let cool for 15 minutes.


For the filling:
8 oz. cream cheese, softened
2 tbsp. butter, softened
1 tsp. vanilla
1 cup powdered sugar
Mix together all the filling ingredients.

Unroll the batter from the towel.  Spread the filling on top of cooked batter.  Roll up and sprinkle with powdered sugar.  Wrap in plastic wrap and refrigerate for at least one hour, to make cutting easier.   


Slice and enjoy!
As you can see in the picture, we had it with home made punch...a Thanksgiving tradition made by my daughter every year (smile and sigh).

Monday, December 1, 2014

Burlap Christmas Wreath

Last week I made a burlap wreath.  To see how I made it, click here.  Today I want to show how I decorated it for my front door all decked out for the Christmas season.  

I am loving the look of the burlap.  I am going to make some for gifts this year and I already purchased some embellishments to decorate it for winter.  


Nothing is hot glued into place, just tucked in.  This will make it easy to change out the embellishments for different seasons or holidays, or to remove completely and just use the burlap.


I used two berry picks and a frosted fruit with pine cone pick.  Fluffed the berries a little, tucking the top one into a burlap loop for added security.


The red Merry Christmas is actually an ornament.  I tore off the hanger part and tucked the bottom  into the burlap and metal wreath for support.


I also made a traditional Christmas wreath and hung it on the lattice.
I purchased the pine wreath and red bow on clearance last year.


I used my Christmas 'stash' for the embellishments.  Nothing new was purchased for this wreath.
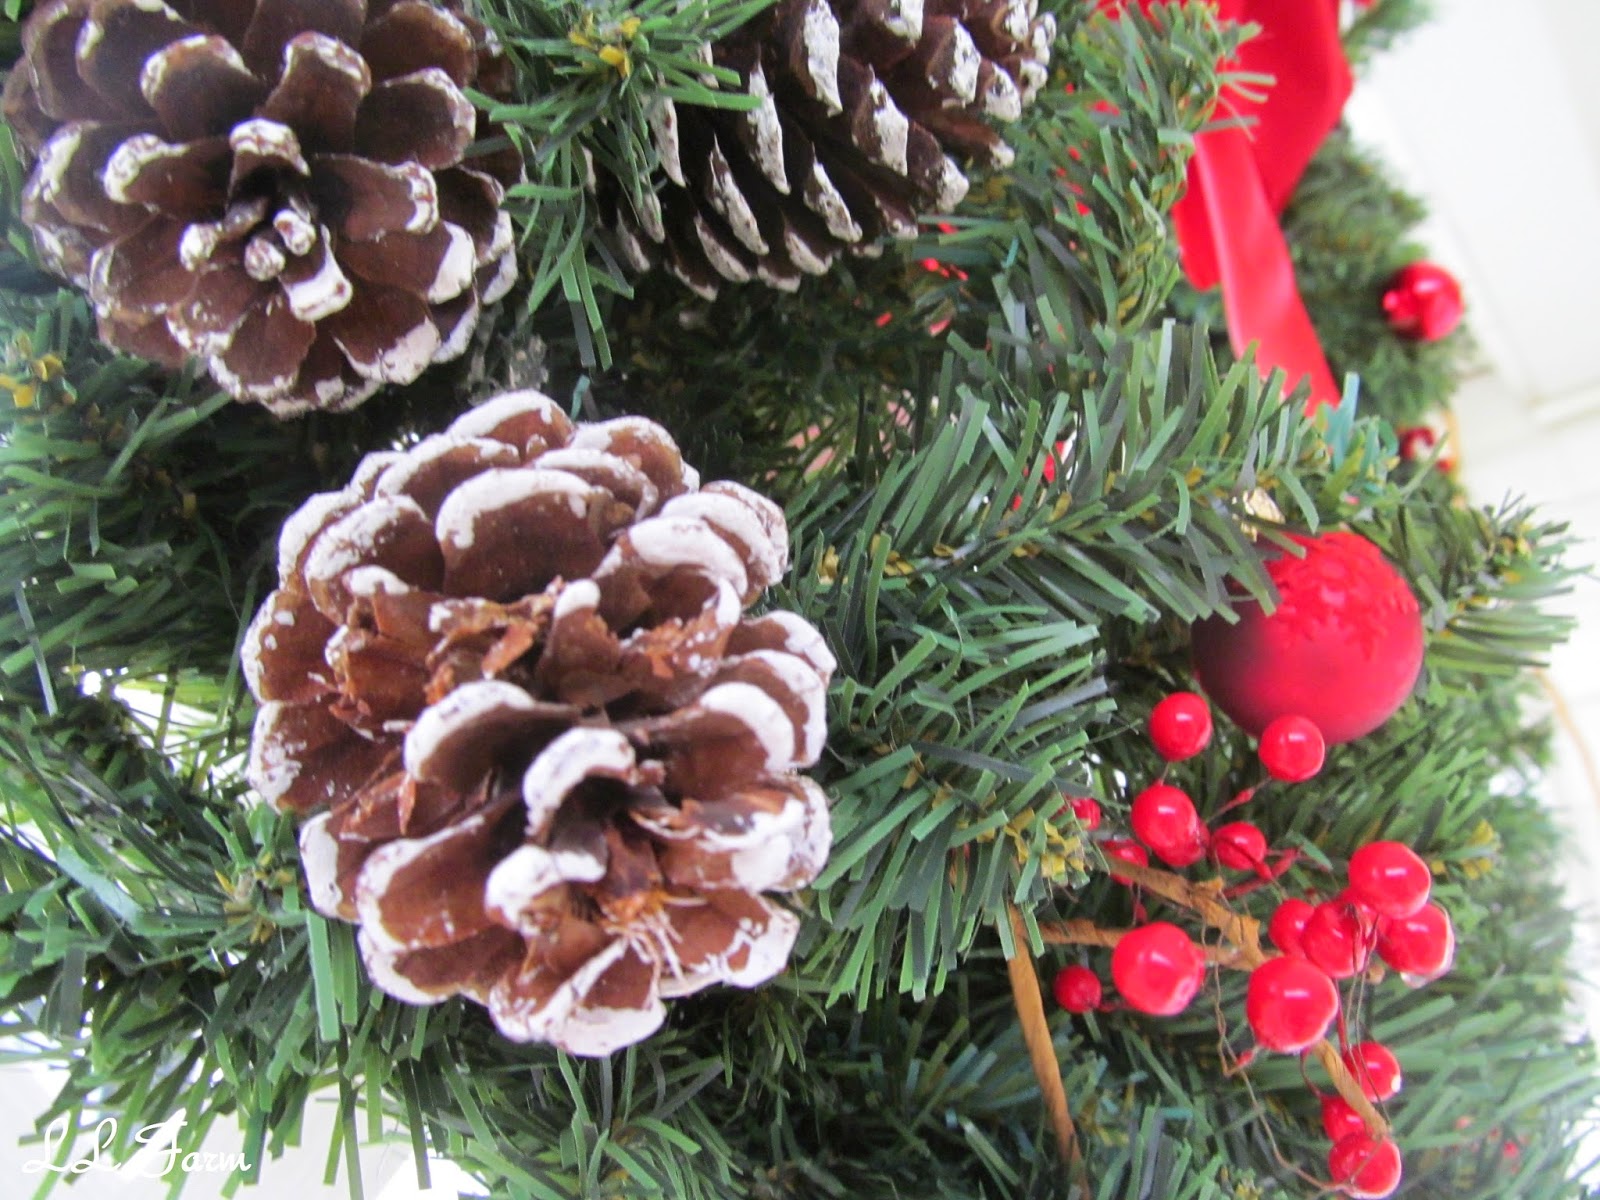
I used my hot glue gun to adhere the pine cones.  I love the look of these that have the white painted tips.  I grouped them in threes.  (Once upon a time, I was told to group things in odd numbers.)  I cut up a red berry pick, and hot glued them into different places on the wreath.


To finish off the wreath, I hot glued small red bulbs.

I love to decorate the inside of my home with different shades of blue (even for Christmas), but for the outside of my home, I like to use traditional red.  My front door is red, the brick has many shades of red, and the house is white....the classic farmhouse look!

Related Posts Plugin for WordPress, Blogger...